Now offering
Guided Fishing Trips

Premium Slotted Tungsten Beads
These beads have the tightest hook gap on the market. They’re easy to secure with just a few thread wraps and they’re super heavy. All at a great price!
Welcome to Driftstone.
A new fly shop dedicated to fly tying, fishing tactics and the community.
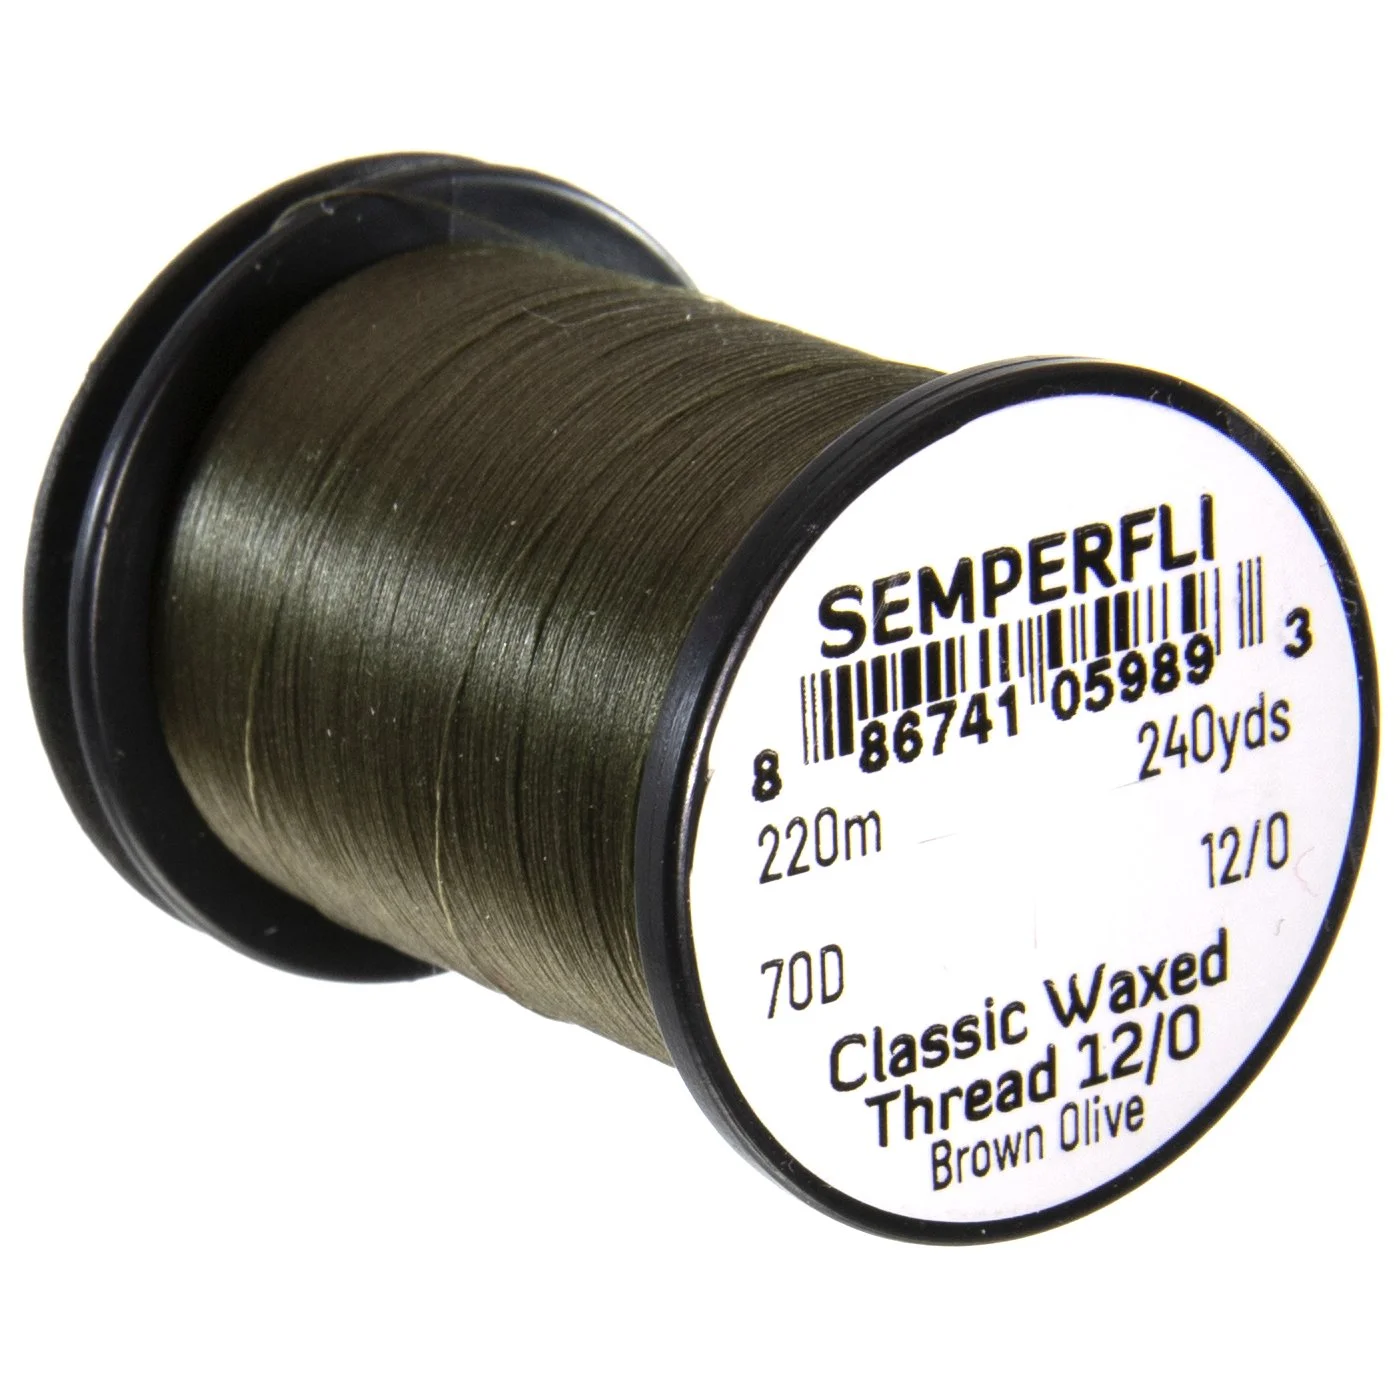
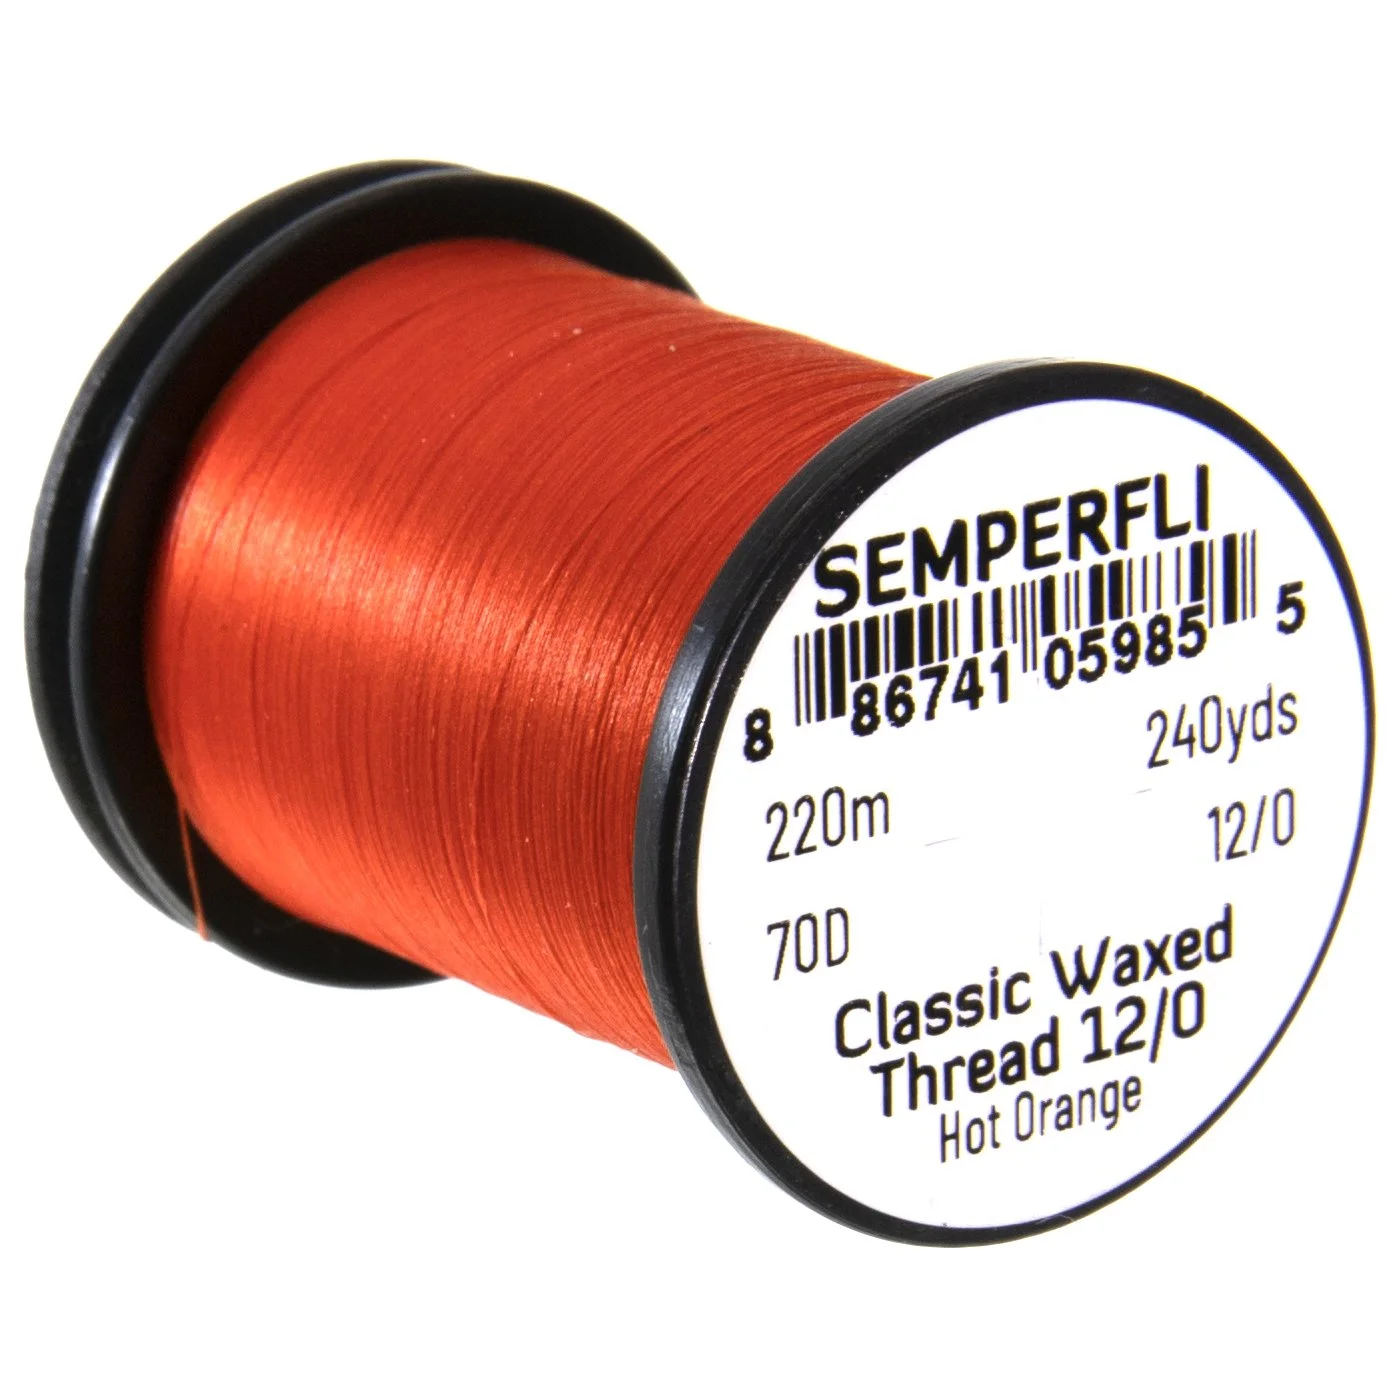
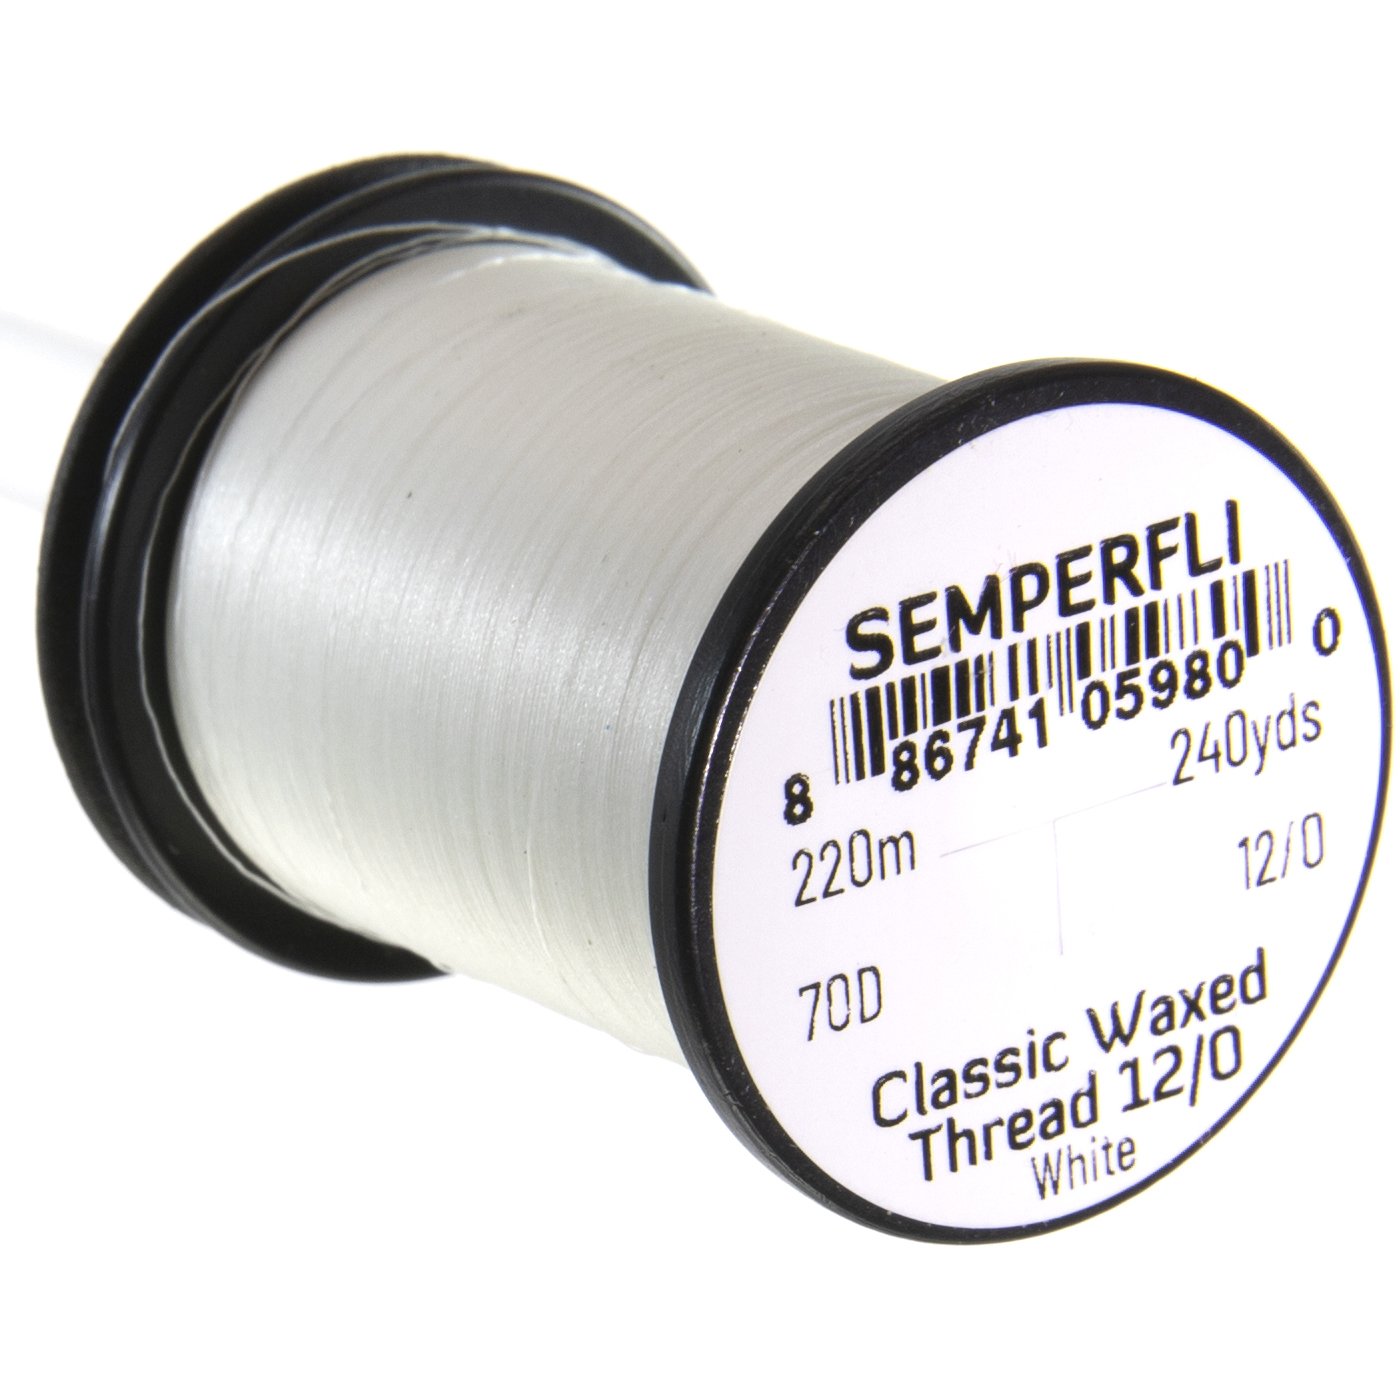
Now Featuring Firehole and Semperfli Products

We’re proud to announce that we’ve partnered with Firehole Outdoors and Semperfli Fly Tying Materials.
We’re slowly building up our inventory stocking the most popular of products first. If you have any requests, please let Eric know.


Podcast.
A fly fishing show that sucks less

OG Driftstone T-Shirt
$29.95

Driftstone Trucker Cap
$24.95

Eric’s Fly Fishing Gear
Featured Videos

The trail goes straight DOWN 👇

Biggest Bow of 2021

The PRETTIEST River?!

The Truckee ain’t easy!

Hiking ALONE in the Trinity Alps

Fly Fishing the 8th Wonder of the World
Burney Falls